How it works.
Taglocator has a number of control elements on the screen:
- a kind of „menu” to switch between different layers;
- a search box;
- a list of selectable POIs that will change - based on the layer you choose from the „menu”
- an option to type in your own choice of key=value pairs.
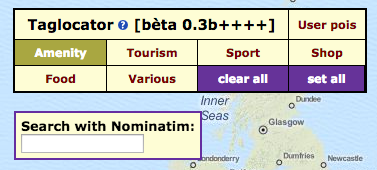
Below this menu is a search-field that you can use to search for a specific location (country, town, street etc.)
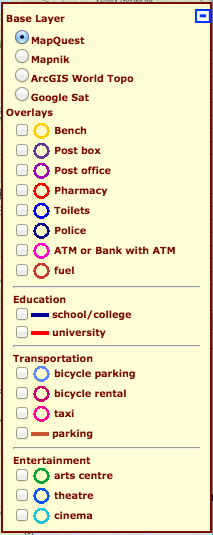
- Base Layer where you can choose the map type
- Overlays. A selection of available choices that you might wish to show on the map.
Select the tags you wish to see and wait. If your zoomlevel is too small you see an indication that you have to zoom in. (Imagine how much time it would cost to find all the Pubs in the UK? The whole map would turn black!!.
If any tags you selected in the list are available on the map, they show up in the color that belongs to that tag.
If you switch to a different layer, your selections on the list are preserved between menu choices.
The list on the right side can be closed with the close button on the top right corner.
If, after you have found the tags you were interested in, you type in a new name in the search box, the selection is not erased. So comparing the pub-density between London and Dublin is now easy!
The links on the above two city names were created with the Permalink button in the lower right corner of the screen.